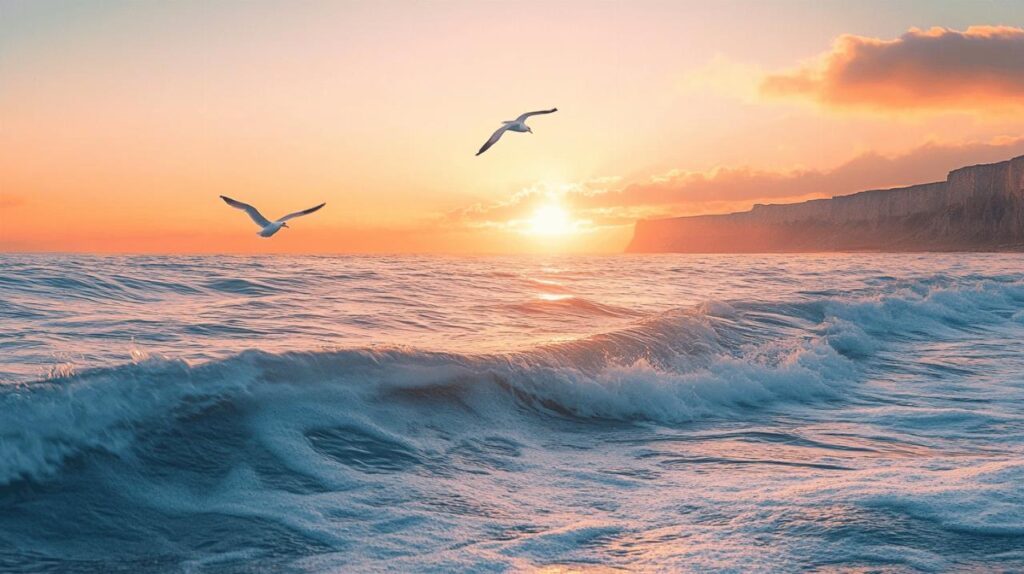
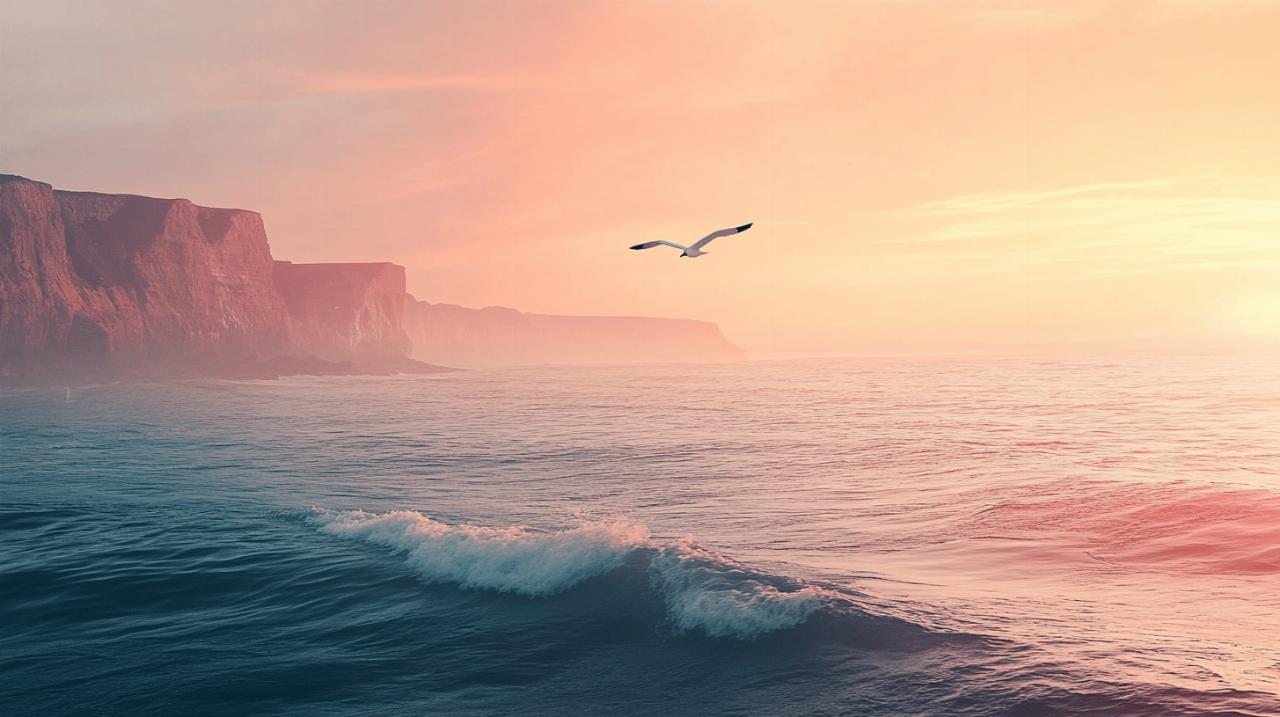
Capturing the rugged beauty of the British coastline and the vibrant life it harbours requires more than just pointing your camera towards the sea. Whether you're drawn to the graceful arc of a gannet plunging into the waves or the curious gaze of a seal bobbing in the surf, mastering the art of photographing the ocean demands a blend of technical skill, patience, and a deep understanding of your subjects. This guide aims to equip amateur photographers with the knowledge needed to transform fleeting moments into stunning, memorable images.
Essential Kit and Camera Settings for Marine Wildlife Photography
Venturing out to photograph seabirds and marine creatures necessitates careful consideration of your camera equipment and how you configure it. The dynamic nature of coastal environments, with their unpredictable light and fast-moving subjects, demands gear that can adapt quickly. A robust setup is your foundation for success, enabling you to respond to the spontaneity of wildlife behaviour and the challenges posed by the elements.
Choosing the Right Lenses and Equipment for Seabird Photography
A versatile lens is absolutely critical when you're out on the coast. For bird photography, a telephoto lens with a good focal length is indispensable, allowing you to capture distant subjects without disturbing them. Options such as a 70-300mm or even a 100-400mm zoom lens provide the reach necessary to photograph birds in flight or perched on rocky outcrops. The flexibility of a zoom lens means you can adjust your composition rapidly as birds shift position, something prime lenses simply cannot offer with the same ease. If you're keen on capturing the broader scene, perhaps a wide expanse of ocean with dramatic clouds, a wider lens in the 16mm range or similar can add a striking sense of scale and drama to your images.
Weather sealing on your camera body and lenses is a feature worth its weight in gold. The coast is notorious for salt spray, sudden showers, and high humidity, all of which can wreak havoc on unprotected gear. Investing in equipment designed to withstand these conditions will save you considerable worry and expense in the long run. Additionally, a sturdy tripod or monopod is essential for stability, particularly when using heavier telephoto lenses. A gimbal head can be particularly useful for tracking fast-moving birds, offering smooth panning capabilities that help you keep up with erratic flight patterns. Don't overlook the importance of a UV filter, which not only protects your front lens element from salt spray but also reduces haze, a common issue in coastal light conditions.
Optimising your camera settings for fast-moving marine subjects
Configuring your camera correctly is half the battle when photographing wildlife in motion. Shutter speed is paramount; you need it fast enough to freeze the action of a bird diving or a dolphin breaching. Starting with a shutter speed of at least one over one thousand of a second is a solid baseline, though you may need to push it even higher depending on the speed of your subject and the focal length of your lens. Using burst mode, or continuous shooting mode, set to its highest capacity, ensures you capture multiple frames in rapid succession, dramatically increasing your chances of nailing that perfect moment when a puffin takes flight or a tern catches a fish.
Aperture settings also play a vital role. Shooting with a wide-open aperture, such as f5.6 or f8, provides a shallow depth of field that beautifully isolates your subject from the background, making the bird or marine creature stand out. However, in bright coastal light, you might find yourself needing to adjust your ISO settings accordingly to maintain this balance. Speaking of ISO, utilising Auto ISO in Aperture Priority mode can be a game changer. Set a minimum ISO, perhaps around 400 or even 1000, to ensure your camera maintains a sufficiently fast shutter speed even in changing light conditions. This automated approach allows you to concentrate on composition and timing rather than constantly fiddling with settings.
Continuous autofocus, known as AF-C on Nikon or AI Servo on Canon, is non-negotiable for tracking moving subjects. This mode keeps your subject in focus as it moves through the frame, adjusting continuously until you take the shot. Pairing this with back-button focusing can further refine your technique, giving you greater control over when the camera focuses and when it doesn't, which is particularly useful when recomposing your shot. Group autofocus or a similar broader focus area setting helps the camera lock onto your subject more reliably, especially when dealing with unpredictable wildlife behaviour. Remember to prioritise release over focus for your first shot in a burst sequence, particularly when photographing animals that leap or dive; this ensures you capture the initial action even if focus isn't absolutely perfect at that precise instant.
Understanding Light and Composition in Coastal Environments
Light is your greatest ally and occasional adversary when working along the shoreline. The interplay between sunlight, water, and sky creates conditions that can shift from gloriously soft to harshly contrasty in mere minutes. Mastering how to read and utilise these light conditions, combined with thoughtful composition, transforms a simple snapshot into a compelling photographic narrative.
Working with Natural Light at Different Times of Day
The golden hours, those magical periods just after sunrise and shortly before sunset, bathe the coast in a warm, inviting glow that flatters almost any subject. During these times, the sun sits low on the horizon, casting long shadows and painting the scene in hues of amber and gold. This light is particularly effective for seabird photography, as it highlights the texture of feathers and adds a luminous quality to the water. Positioning yourself so the light falls favourably on your subject, ideally from the side or slightly behind you, ensures the bird or marine creature is well lit without harsh shadows obscuring important details.
Midday light, conversely, can be challenging due to its intensity and the harsh shadows it creates. The high sun directly overhead often results in overexposed skies and deep, unflattering shadows on your subjects. However, this doesn't mean you should pack up your kit entirely. On overcast days, the cloud cover acts as a natural diffuser, softening the light and eliminating harsh contrasts, which can be ideal for capturing the subtle colours of marine life or the intricate details of a bird's plumage. Smooth water conditions, particularly when there's little wind, reflect light onto your subjects from below, acting as a natural fill light that can beautifully illuminate the underside of a bird in flight or the face of a seal.
Be mindful of how light interacts with the water itself. Reflections can add a dynamic element to your composition, but they can also cause overexposure, particularly on white feathers or splashing water. Using your camera's metering modes effectively, such as matrix or evaluative metering, helps the camera assess the overall scene and adjust exposure accordingly, though you may still need to apply exposure compensation to prevent your subjects from becoming silhouettes against a bright sea.
Composing Dynamic Shots of Waves and Marine Life
Composition is where your artistic vision truly comes into play. The classic rule of thirds remains a reliable guide, suggesting you place the horizon line either a third of the way up or down in your frame rather than slicing it directly through the centre. This approach creates a more balanced and visually engaging image. When photographing seabirds, try positioning them off-centre, allowing space in the direction they're looking or moving, which gives the image a sense of direction and flow. This negative space can be just as important as the subject itself, providing context and preventing the frame from feeling cramped.
Incorporating interesting foreground elements, such as tide pools, rock formations, or seaweed, adds depth and layers to your coastal images. These elements lead the viewer's eye into the scene and towards your main subject, creating a more immersive experience. When focusing on wildlife, always aim to capture sharp focus on the eyes; this is the first place a viewer's gaze will naturally land, and sharp eyes imbue your subject with life and character. Be cautious not to cut off body parts awkwardly in your framing, particularly wingtips or tail feathers, as this can make an otherwise strong image feel incomplete.
Backgrounds matter enormously in wildlife photography. A cluttered or distracting background can detract from your subject, so look for clean, unobtrusive backdrops such as open sky, smooth water, or blurred foliage achieved through a shallow depth of field. If you're photographing from a boat, consider using a wide-angle lens when marine wildlife approaches closely, allowing you to capture the animal in its environment, showing the scale and context of the encounter. Experimentation is key; don't be afraid to try different angles, perspectives, and compositions to discover what works best for the specific scene and subject before you.
Techniques for Capturing Seabirds and Ocean Creatures in Action
 The true test of your skills as a marine wildlife photographer lies in capturing animals in motion. Seabirds darting through the air and marine creatures surfacing unexpectedly demand quick reflexes, precise timing, and a solid understanding of animal behaviour. Developing these techniques through dedicated practice will dramatically improve your success rate and the quality of your images.
Anticipating wildlife behaviour and movement patterns
Understanding the behaviour and movement patterns of your subjects is arguably the most valuable skill you can develop. Before you even pick up your camera, spend time observing the wildlife. Watch how seabirds take off and land, noting any predictable patterns in their flight paths or feeding routines. Many birds will circle a particular area before diving, or they might return repeatedly to a favoured perch. Recognising these habits allows you to position yourself advantageously and anticipate the decisive moment. Researching your subjects beforehand, learning about their breeding seasons, migratory patterns, and preferred habitats, provides invaluable context that informs your approach in the field.
Patience is not merely a virtue in wildlife photography; it is an absolute necessity. You may spend hours waiting for a single opportunity, and that fleeting moment when a bird catches a fish or a seal pops its head above water can be over in seconds. Resist the urge to constantly move around searching for action. Instead, find a good vantage point, settle in, and let the wildlife come to you or grow accustomed to your presence. This stillness and patience often yield far better results than frantic chasing. Pre-visualising your desired images before you shoot, thinking about the composition, lighting, and the story you want to tell, helps you react more instinctively when the moment arrives, rather than shooting randomly and hoping for the best.
Using Burst Mode and Tracking Focus for Sharp Wildlife Shots
Once you've anticipated the action, burst mode becomes your best tool for capturing it. Firing off a rapid sequence of frames ensures you have multiple shots to choose from, significantly increasing the odds that at least one will have perfect focus, timing, and composition. This is especially crucial for birds in flight, where wing positions, head angles, and the interplay of light can change dramatically from one frame to the next. Don't be shy about taking hundreds of shots; the more you capture, the higher your chances of securing that truly outstanding image.
Tracking focus, achieved through continuous autofocus modes, works in tandem with burst mode to keep your moving subject sharp throughout the sequence. As the bird or marine creature moves through your frame, the camera continuously adjusts focus to maintain sharpness. Practice tracking subjects even when they're at a distance, using back-button focusing to engage and disengage autofocus independently of the shutter button, giving you finer control. Start with more common and accessible wildlife, such as gulls at a local beach or in a park, to hone your skills before tackling more elusive or challenging subjects in remote coastal locations.
Panning is another technique worth mastering, where you move your camera horizontally to follow a moving subject, ideally at a slower shutter speed. This creates a sense of motion blur in the background while keeping the subject relatively sharp, conveying speed and energy. While this requires practice to perfect, it adds a dynamic, creative dimension to your portfolio beyond the standard frozen action shots. Similarly, experimenting with different shutter speeds for creative effect, such as capturing the blur of waves crashing against rocks, can add variety and artistic flair to your body of work once you've mastered the fundamentals of freezing action.
Post-processing and refining your ocean photography
Capturing the shot is only part of the journey; refining your images through post-processing is where you truly bring your vision to life. Even the most beautifully composed photograph can benefit from a bit of careful editing, enhancing colours, sharpening details, and correcting exposure to produce a final image that truly captivates.
Editing Tips to Enhance Colour and Detail in Marine Images
Simple adjustments to exposure, contrast, and colour balance can work wonders on your coastal photographs. Marine images often benefit from a boost in contrast to make the blues of the ocean and sky more vibrant, and to separate your subject from the background more effectively. Be mindful of retaining detail in both the highlights and shadows; it's easy to blow out the whites in splashing water or lose detail in the darker areas of a bird's plumage if you push your adjustments too aggressively. Using the histogram as a guide helps you ensure a balanced exposure across the tonal range.
Sharpening is another critical step, particularly for wildlife photography where detail is paramount. Apply sharpening selectively, focusing on areas like the eyes and feathers of a bird, rather than globally across the entire image, which can introduce unwanted noise and artefacts. Many editing programmes offer masking tools that allow you to apply adjustments precisely where needed. Colour correction might also be necessary to neutralise any colour casts introduced by coastal light or reflections off the water. A touch of saturation can make the natural colours of your subjects pop, but exercise restraint to avoid producing unrealistic, garish results.
There are many excellent editing software options available, from professional-grade programmes to more accessible, user-friendly applications. Investing time in learning the capabilities of your chosen software pays significant dividends, enabling you to develop a consistent editing style that complements your photographic vision. Remember, the goal of post-processing is to enhance the inherent beauty of your image, not to fundamentally alter reality or compensate for poor technique in the field.
Building your skills through practice and equipment upgrades
Continuous improvement in photography comes from consistent practice and a willingness to learn from both your successes and your mistakes. Review your images critically on a larger screen after each outing, identifying what worked well and what didn't. Don't delete shots in the field; you might be surprised by what looks better upon closer inspection at home. Studying the work of accomplished photographers provides inspiration and insight into different approaches and techniques. Analysing how they handle light, compose their shots, and capture decisive moments can inform and elevate your own practice.
As you grow more confident and identify the limitations of your current kit, consider targeted equipment upgrades. Perhaps a longer telephoto lens would allow you to reach more distant subjects, or a camera body with better burst speed and autofocus capabilities would improve your hit rate with fast-moving birds. However, remember that the photographer behind the camera is always more important than the gear itself. Even with modest equipment, a skilled and patient photographer can produce remarkable images. Focus on mastering the fundamentals with what you have before chasing the latest and most expensive gear.
Attending photography workshops or tours, particularly those focused on wildlife and coastal environments, offers invaluable opportunities to learn from experienced professionals in the field. These experiences provide hands-on guidance, access to prime locations, and the chance to practice your skills in a supportive environment. Whether you're exploring the Indian Ocean, the South African coast, or closer to home along the British coastline, immersing yourself in these dedicated learning experiences accelerates your development and deepens your appreciation for the natural world. Ultimately, the journey of mastering ocean photography is ongoing, filled with challenges, rewards, and the endless beauty of marine wildlife waiting to be captured through your lens.